Car Paint Correction. What is it and how to do it?
Have you ever washed your car on a nice sunny day, only to be disappointed with the result?
If so then it is highly likely your car needs a paint correction process.
Many car owners are unaware of why their car still looks dull after an hour or more of effort with with a quality shampoo and microfiber, in this blog post we will explain to you why this is and how to cure it.

What is Paint Correction?
Paint correction services take all the surface contaminants off the paint surface and cut a slight layer off the "Clear Coat" to take out the fine scratches.
Let me explain why your car still looks dull after a good wash in direct sunlight.
When your brand new vehicle is painted in the factory they receive a layer of primer, followed by a few layers of coloured paint know as the Top Coat.
When this has dried a final "Clear Coat" is added to the car's paint job. This a basically a clear type of, for a better word Varnish, that adds a layer of protection to the Top Coat or vehicle's paint.

Once the car leaves the factory and is driven inevitably it will occur scratches in daily use. Some may come from road side debris such as branches etc.
But often fine scratches are caused during the washing process, if it is not done properly!
These light surface scratches are often caused by small pieces of grit or road grime being dragged across the surface by improper washing.
This causes heavy swirl marks to happen which result is the appearance of what look like "spider webs" on the car's paint in the direct sunlight.

This causes our naked eye and brains not to perceive a deep shine, let me explain.
When the sunlight hits the cars paint if there are scratches in the car's clear coat then the sunlight is defected away from our eyes at angles from these minor imperfections and therefore we don't perceive any depth of shine from the surface of the paint.
I hope the diagram above explains this in more visual detail.
When we correct the paint we are removing these minor scratches from the vehicle's finish. This is Paint Correction
Signs Your Car Needs Paint Correction
If you've noticed that your car's finish isn't looking as shiny or smooth as it used to, it may be time for paint correction. It can actually feel dull and rough to touch in extreme cases
Some of the signs that your car needs this treatment include swirl marks, light scratches, water spots, and oxidation.
Swirl marks are typically caused by improper washing techniques and are small, circular scratches that can be seen in direct light. There may even be some deep scratches, but these will need something more extreme than process of Paint Correction.

Scratches can be caused by anything from road debris to careless parking lot neighbors, and they can vary in severity. Or even acid rain can cause paint defects.
Water spots can also be caused by hard water or mineral deposits left behind after washing, and oxidation is a natural process that occurs as the clear coat on your car's paint begins to break down. It mainly happens if you live in a "Hard Water" area.
All of these issues can make your car look dull and lack lustre, and they can also lead to more serious problems if left untreated.
How to do Paint Correction
As we now know paint correction is a process that involves removing imperfections and restoring a car's finish to a like-new condition.
The goal is to eliminate swirl marks, scratches, water spots, and other surface imperfections, so the result is a smooth, deep shine finish.
Here's a first step-by-step process of how paint correction works:

- Full Inspection. This process should always start with a full and detailed check of the car. Ideally this should be done in direct sunlight by looking at each panel from different angles and at different levels to identify the most affected areas of paint damage. This will help judge what level of paint correction to use on certain areas
- Washing. In the next step he whole vehicle should be washed thoroughly. Starting with a good foaming to loosed all the vehicle's paint surface grime and dirt. Then a good two bucket wash and rinse.
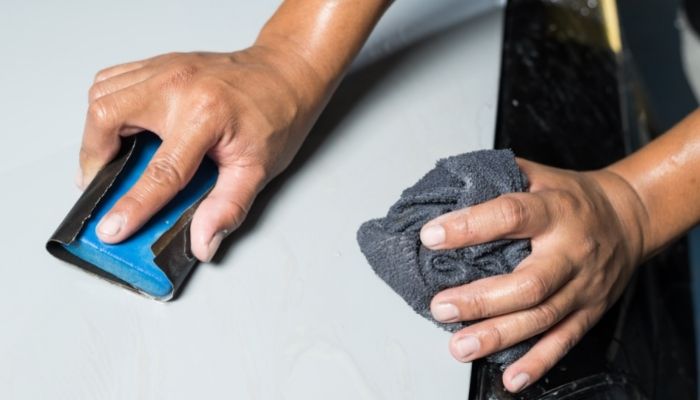
- Clay bar. Next you can if desired use a clay bar with plenty of surface lubricant. This when rubbed over the surface remove any grit or grime that is deeply attached to the vehicle's clear coat. Often stuck deep in some of the scratches.
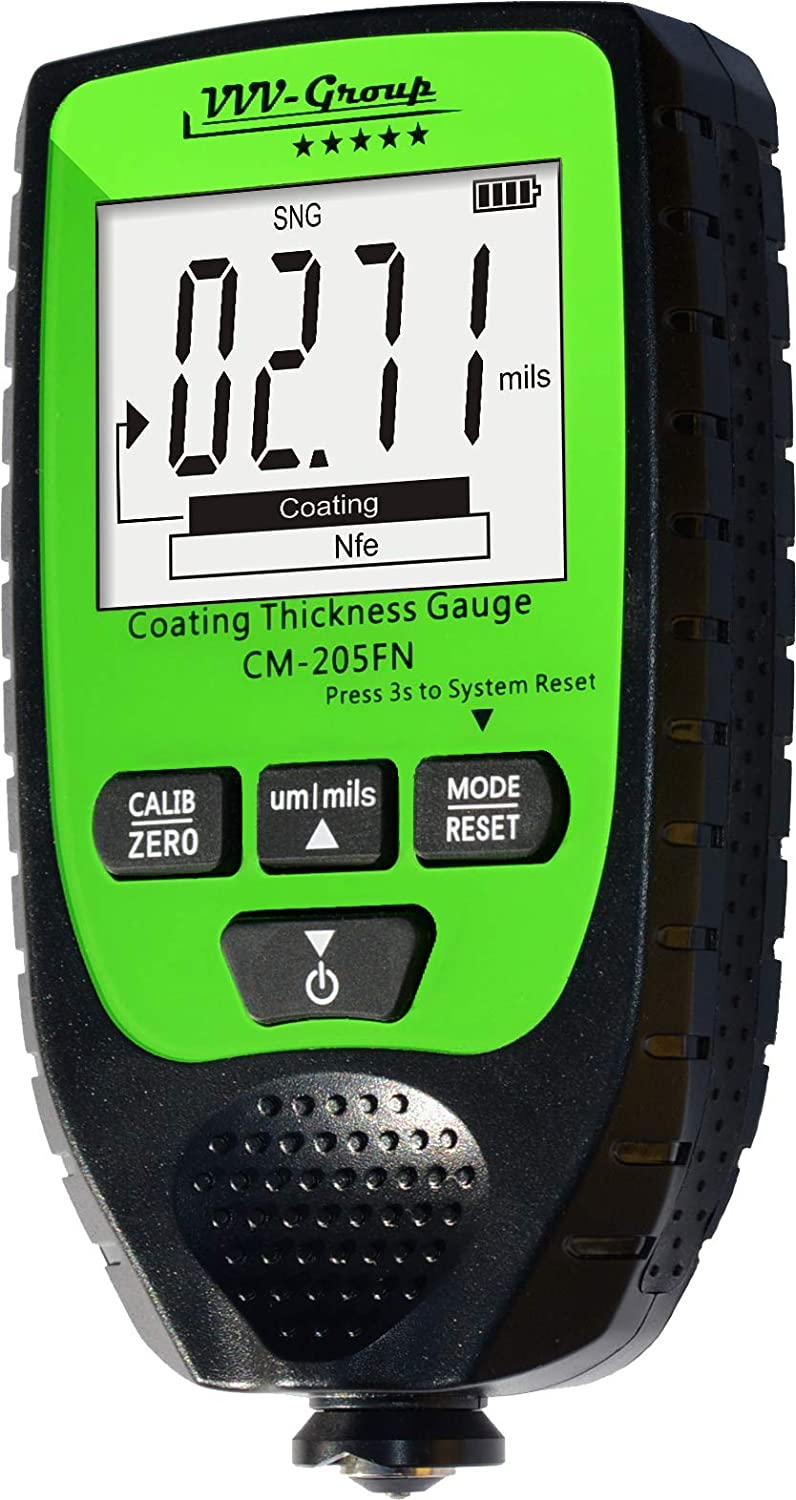
- Measure the thickness of the paint. This is an important part of the paint correction process that is used by many a professional detailer but is often over looked by inexperienced detailers. The reason for this step it to ensure the paint coat is thick enough to withstand the paint correction process. If it isn't then you need to be aware so as not to go right through the paint coat to the primer of even bare metal! To do this you will need a paint thickness gauge. This is often over looked by amateur car enthusiasts.
- Compounding is using a course polish designed to really cut into a small amount of clear coat and remove the scratches that cause the light deflection. It is sometimes referred to as "Cutting Compound" and I think this is a better term as it better describes what it does. With the additional abrasive property of compound polish care must be observed especially in areas where the paint coat has been detected as thin. For this cutting stage apply with a clean microfiber cloth, allow to cure and polish off with the same.
- Polishing. The aftermath of Compounding is a mass of hazy scratches, similar to the effect of wet sanding! So this polishing stage is all about removing them and a very fine amount of clear coat to leave a deep shine. A finishing polish is used that has some abrasive properties but is much finer than the compound and is able to smooth them out and leave a near gloss finish. This may take several attempts and a few finer grade polishes to attain.
- Waxing or Ceramic Coating. Once the final deep shine is achieved then it needs to be protected with a coat of high quality wax or have the car Ceramic Coated. Either of these processes will give a hard protective layer on top of the now scratch free clear coat. This will give adequate protection against bird droppings, tree sap and road grime. To leave your fully corrected vehicle like a brand new car.

Paint Correction Cost?
If this process seems a big job to you then you could pay for a proper paint correction with a professional detailer and their years of experience
The costs can vary according to the level of damage to the paint work and the severity of the imperfections. Other factors are the experience of the detailer and your location.
Generally, the cost can range from a few hundred dollars to over a thousand dollars for more extensive work.
The smaller end of the scale will usually involved removing spider webbing and swirl marks then ranging up to deeper scratches, orange peel and oxidation removal and full vehicle paint correction.
Best way to maintain your newly paint corrected car

Maintaining a newly corrected car finish is essential to preserve the investment and ensure that the car stays looking great for years to come. Here are some tips to help you maintain your car's newly corrected finish:
- Wash your car on a regular basis - Regular washing is essential to remove dirt, grime, and other contaminants that can damage the paint. Use a gentle car shampoo and a soft mitt to avoid causing any new swirl marks.
- Dry your car properly - After washing, use a soft, clean microfiber towel or chamois to dry your car thoroughly. Drying with a dirty or abrasive cloth can create new scratches or swirl marks.
- Avoid automatic car washes - While convenient, automatic car washes can cause damage to a newly corrected finish. The brushes or other cleaning mechanisms can scratch the paint and ruin the finish. Instead, wash your car by hand or take it to a professional detailing service.
- Use a paint sealant - A high-quality paint sealant can help to protect the paint and prevent damage from environmental factors, such as UV rays, acid rain, and bird droppings.
- Park in a garage or shaded area - Sunlight can cause damage to the paint over time, so parking in a garage or shaded area can help to protect the finish.
- Avoid wax for a few weeks - After paint correction, it's best to avoid applying wax for a few weeks to allow the finish to fully cure.
By following these tips, you can help to maintain your car's newly corrected finish and keep it looking great for years to come.
Common Tools and Products Used in Paint Correction
Car Shampoo
Mr Pink is an ideal pH neutral shampoo that is the ideal starting point to prepare for paint correction
Car Paint Thickness Gauge

An essential part of car paint correction is to know how deep the paint coat is. This will prevent you cutting right through to the primer or bare metal!
Cutting Compound

This is an ideal Cutting compound for first time paint correction. You can use it with confidence but also with a little added caution so as not to cut too deep.


