4 Steps on How to Blend Touch Up Automotive Car Paint
Just imagine: You're about to set off to crise to a car show with your gleaming car when you notice a nasty scratch that spoils its pristine look. maybe on the front spoiler or wheel arch where a rock chip has hit the car.
We've all been there. These minor blemishes can be quite a sore sight, not to mention they can lead to more serious issues like rusting if left untreated. One of the most cost-effective and efficient solutions to this problem is using touch-up paint.
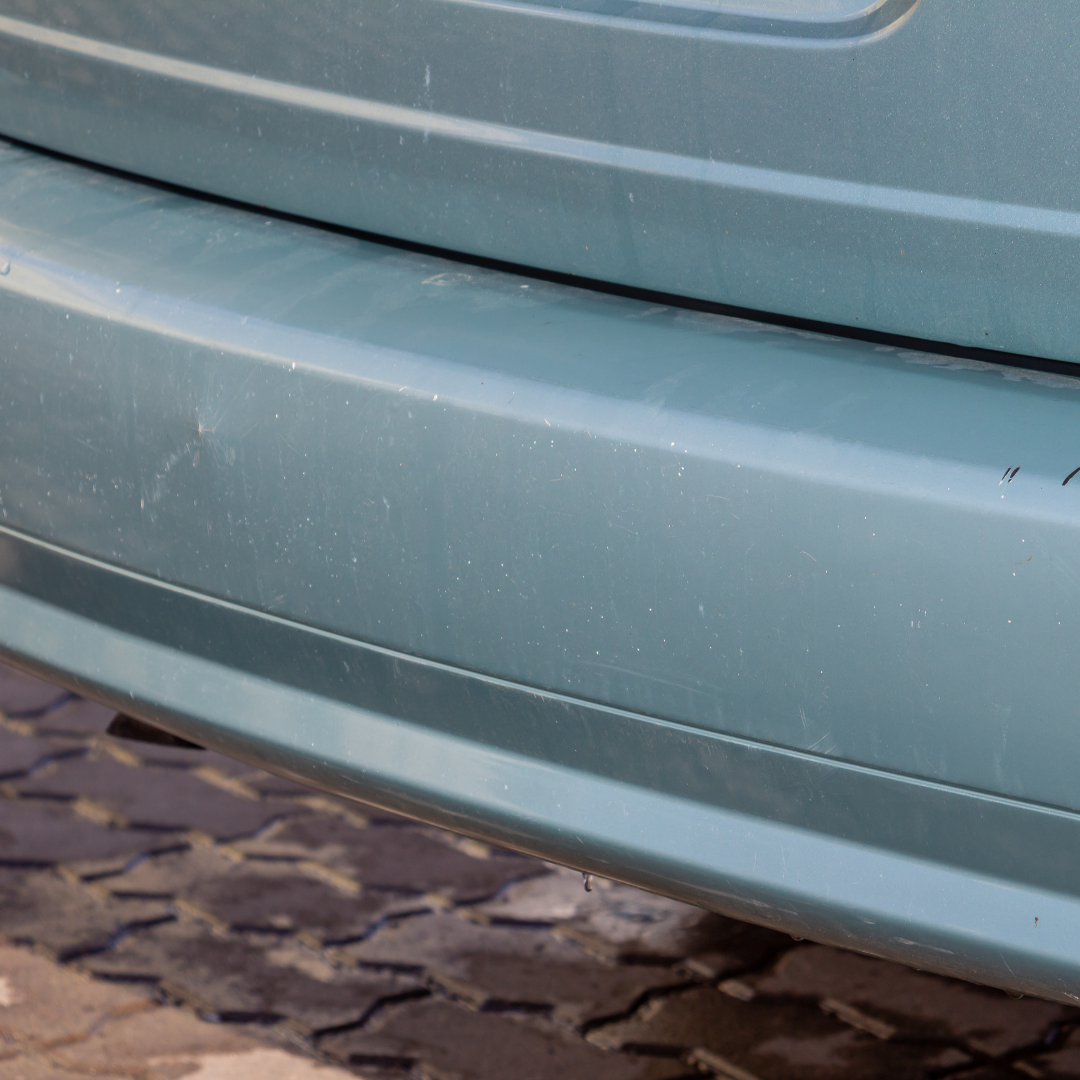
If you just dab it in then this will not be enough, because it will lead to small areas or "Peaks" of paint standing out from the repaired area. Therefore, it is essential to keep blend in the touch up paint to measure the new paint looks just like the existing paint.
That's why today, we'll explore 'How to blend touch up paint on a car' - it can prove to be a really handy skill to possess and even a lucrative one once friends know you can do it!
Understanding how to blend touch up paint on your car not only enhances your vehicle's aesthetic appeal but also preserves its resale value.

By the end of this guide, you'll become adept at blending touch-up paint, making those unsightly scratches virtually invisible.
So, buckle up and get ready to embark on a journey towards becoming your car's best caretaker.
Now lets get touching up!!
Understanding Your Car's Paint Job

Just before we dive into the fine detail of touch up paint application, let's first delve into the detail of what exactly makes up your car's paint job. As your car's paint job is more than just a single layer of colour. It's a multi layers structure, each serving a unique purpose.
Understanding these layers is essential before you start on the task of using touch up paint on your car. It allows you appreciate how deep the damage might be and then take the best course of action for your paint repair to get the best results, if your using car paint or a paint pen.
So, let's journey together from the bare metal of your car to the shiny clear coat that gives it that polished, gleaming look.
Here's a brief rundown of the different layers in a table:
| Stage | Description |
|---|---|
| Bare Metal | This is the car body itself, typically composed of materials such as steel or aluminum. The bare metal forms the foundational layer to which all other layers will adhere. |
| Rust Prevention | Before any painting starts, a rust prevention layer is applied to the bare metal. This protects the vehicle's body from corrosive elements that can lead to rusting. |
| Primer | The primer layer is then applied directly to the bare metal. This layer not only provides additional rust protection but also helps the subsequent paint layers adhere better to the metal surface. The primer layer also aids in achieving a smooth and uniform paint finish. |
| Base Coat | The base coat is what gives your car its color. It's usually applied in several layers to achieve the desired color depth and visual appeal. The base coat doesn't have any hardeners or strengtheners, which is why it needs a protective clear coat. |
| Clear Coat | Finally, the clear coat is applied. This is a transparent paint that doesn't contain any pigment. The clear coat not only provides a glossy finish but also acts as a protective shield against damage from sunlight, bird droppings, and other environmental factors. The clear coat is what you see and touch on a finished car. |
Step-by-Step Guide: Blending Touch Up Paint on Your Car
1. What you will need
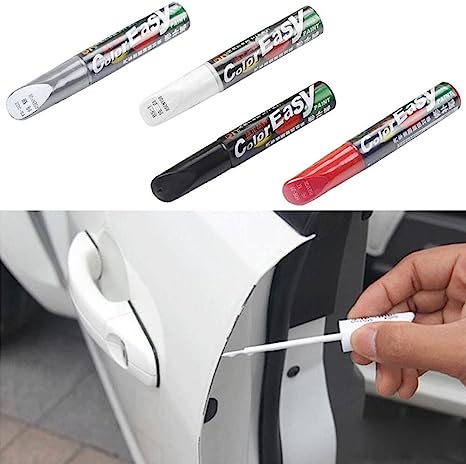
This can be in the form of a small pot of touch up paint or a color touch up pen. Ensure that the paint is that same paint code as you car. This can often be found on a plate in the drivers door of the car. This can be obtained from a reputable paint suppliers or motor factors shop.
Next you may need some primer. This will depend on how deep the chip or scratch is. If it has gone right through the clear coat, base coat, primer and through to the bare metal you will definitely need to apply some primer before the touch up paint.
Final item in the paint department is the clear coat which needs to applied on top of the touch up paint as an extra layer of protection.
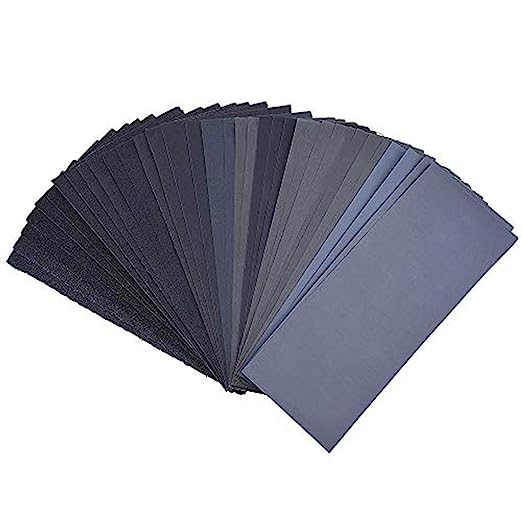
For the physical item's you will need wet sandpaper of various grades. These should range from 220 grit to 2000 grit sandpaper
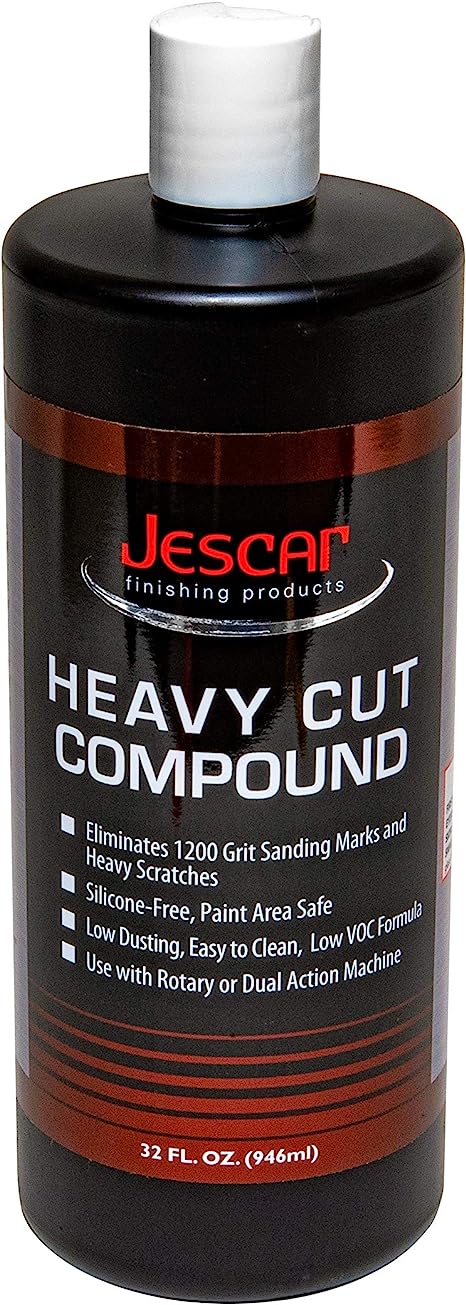
Rubbing Compound to further smooth and prepare the area after the harshness of sandpaper. The Jescar Heavy Cut Compound featured below is ideal for this
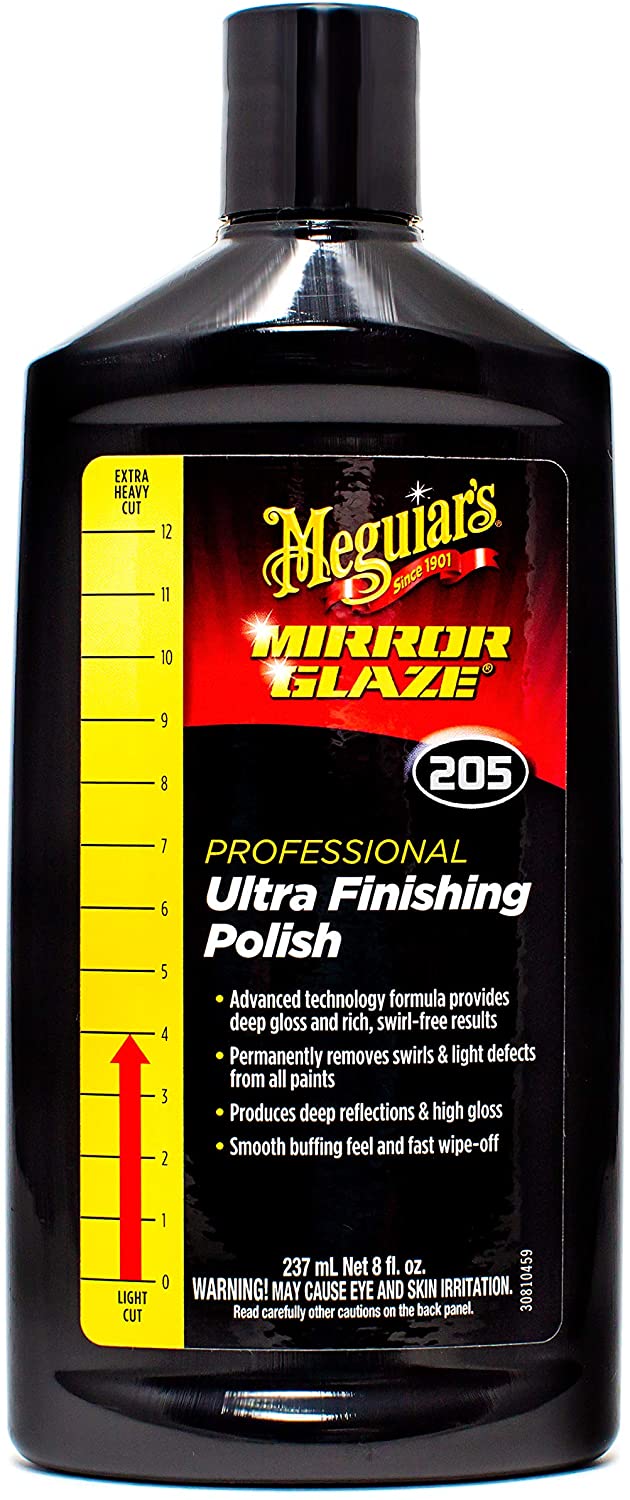
Polishing Compound will be the next item on the list along with a good quality wax to put that final protective coating over the repair. Below are what we would recommend for the Polishing compound and the wax protective layer.
Meguiars Mirror Glaze Finishing Polish
Zymol Concours Wax
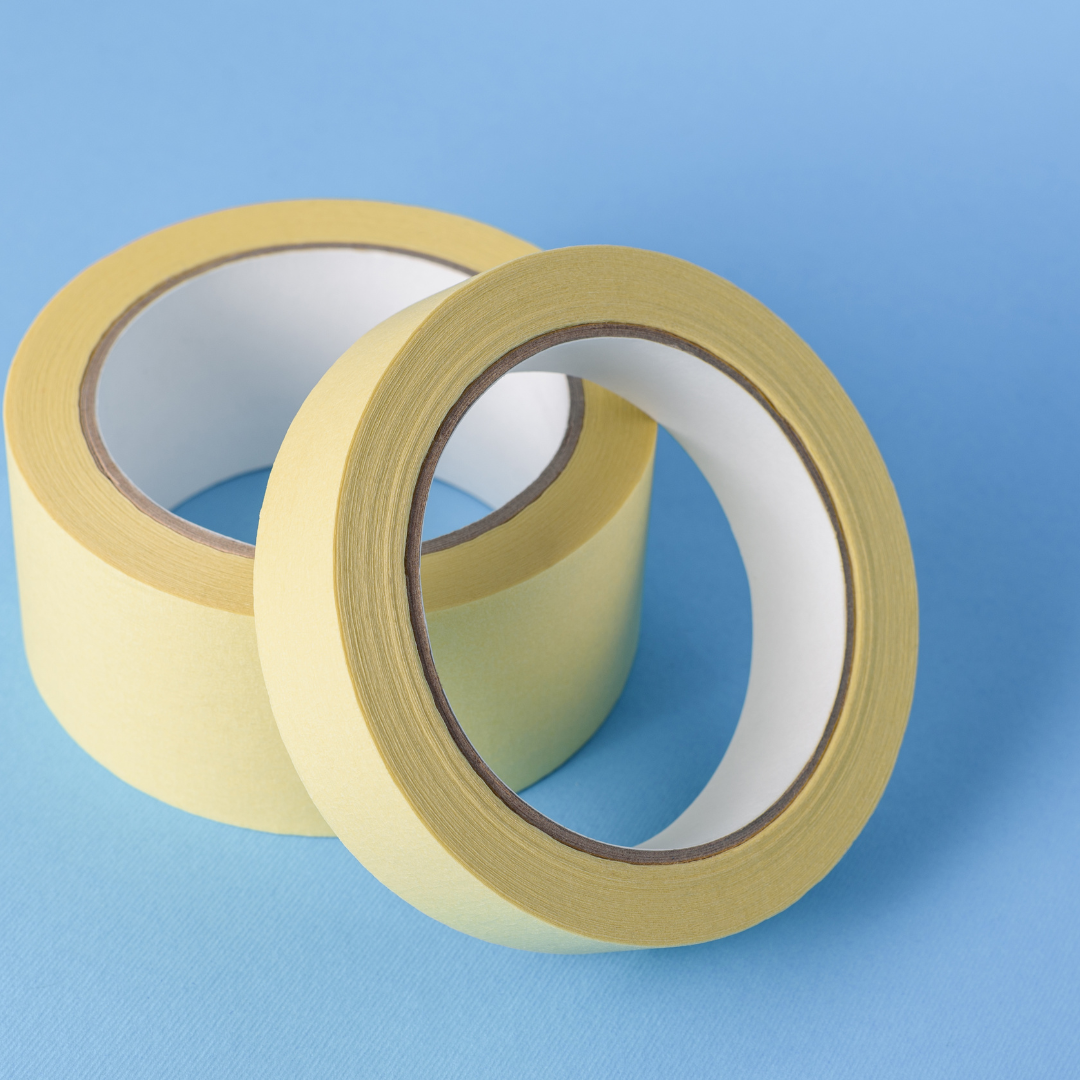
To apply the above items you will need a microfiber cloth, microfiber towel small paint brush, masking tape and gloves.
An additional item maybe a some paint thinners to clean the brush
I have complied them into a table below for easy reference or to print off as a shopping list of items
| Item | Description |
|---|---|
| Touch Up Paint | Ensure you have the exact color match for your vehicle. The paint code is usually located on the vehicle identification number (VIN) plate. |
| Primer | If the scratch or chip has exposed the bare metal, you'll need a primer to protect it from rust and help the paint adhere better. |
| Clear Coat | This is applied after the base coat to provide a glossy finish and protect the paint. |
| Sandpaper | Different grits are needed for different stages. 220-grit is for initial smoothing of the damaged area, 600-grit is for smoothing the applied primer, and 2000-grit is for blending the new paint and clear coat. |
| Rubbing Compound | This helps blend the new clear coat with the existing one and restore the shine. |
| Polishing Compound | This is used after the rubbing compound to bring out the shine and luster of the paint. |
| Wax | After all the repair work, wax is applied to protect the area and increase the shine. |
| Microfiber Cloth | These are used for wiping away dust and debris, and for applying and removing the rubbing compound, polish, and wax. |
| Paint Brushes | Smaller brushes are ideal for applying touch-up paint to tiny chips and scratches. |
| Paint Thinner | Useful for cleaning brushes and for correcting any mistakes during the touch up process. |
| Gloves | Protect your hands during the process. |
| Masking Tape | This is used to protect surrounding areas during the painting process. |
2. Prepare the damaged area
This step is crucial to getting the best result. Follow this step-by-step guide on how to prepare the damaged area before you start applying the touch-up paint.

Clean the Area
It is essential that you clean the area of any particles of loose old paint, primer or clear coat as well as any dirt that may have lodged in any small holes.
A bucket of warm water with a mild detergent or car shampoo added should be used. Scrub the repair area gently using a soft cloth or sponge. Finally rinse and dry the affected area with a clean towel or microfiber cloth.
Assess the Damage
Inspect the scratch to ascertain how deep it is. Pay close attention to see if the damage has reached the primer or even the bare metal, you will need to apply a primer before the touch-up paint. If its just the clear coat and the base coat then primer won be needed as the primer coat will still be in tact.

Sand the Area
If the scratch has reached the primer, begin by sanding the area with 220-grit sandpaper to smooth any rough edges around the base coat and clear coat.

Once the area is smooth, change to a 600-grit sandpaper to prepare the area for the primer. Try not to damage any of the larger area around the scratch when sanding, especially with the 220 grit sandpaper. Finish by wiping away any sanding dust using a damp cloth.
Mask the Surrounding Area
The unaffected area should be masked off to prevent any further damage or excess paint application It is a good idea to leave a small border around the scratched area that allows you to blend the touch-up paint more effectively into the surrounding paint.
Apply Primer
If the scratch has reached down to the metal, apply a thin layer of primer with a small brush. Allow the primer to dry according to the manufacturer's instructions, then gently sand it with 600-grit sandpaper to smoothen it. Clean the area with a damp cloth to remove any dust.
3. Apply the Touch Up Paint
Shake it up!
It is s good idea to shake the touch up paint up before you start the application. Just like making a cocktail, the perfect blend can make a world of difference.
Give it a good shake to ensure all the ingredients are thoroughly combined, providing you with a color that matches your car perfectly. If however you are using a touch up pen then this wont be necessary.
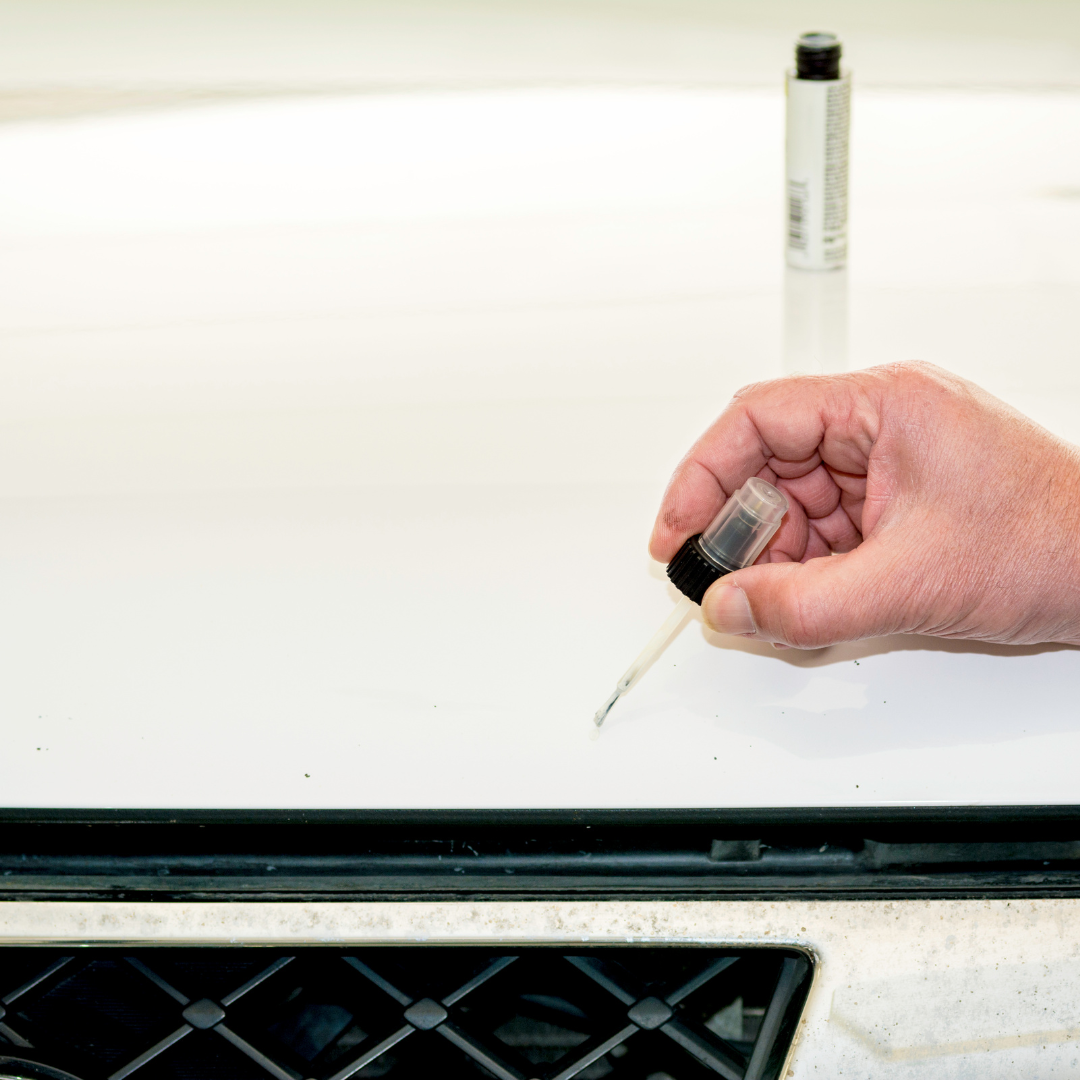
Apply the Touch-Up Paint
Now is the exciting part when you actually get to apply the paint and begin to see the end result!
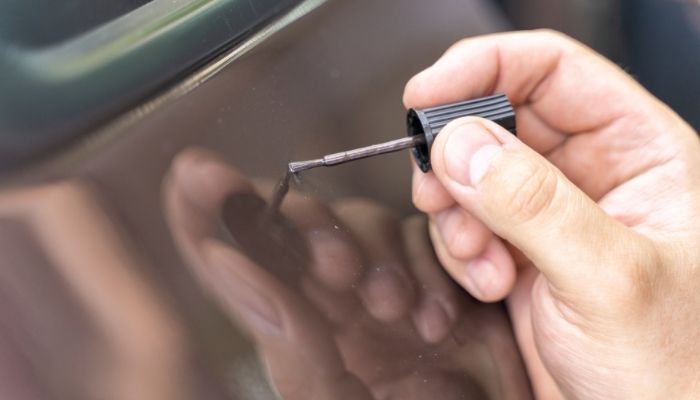
Dip your brush into the paint - remember, less is more! Start with a small amount of paint, you can always add more later if needed.
Apply it gently onto the prepared, primed area, being careful to stay within the lines of the damage.
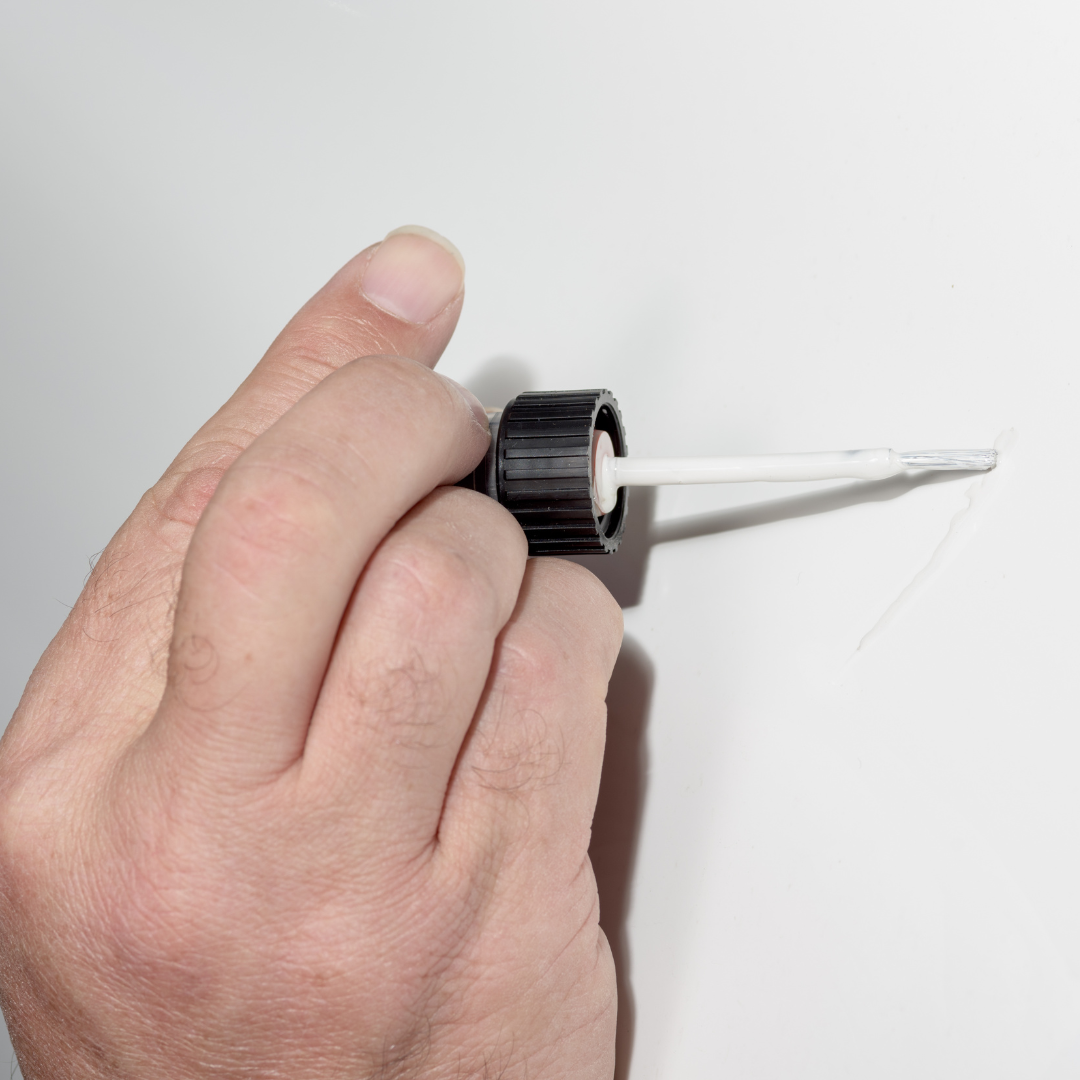
Layer it on small and slow
Some deeper scratches or chips, may need multiple layers. However, please do add another layer to soon!
Allow the first coat to dry completely, creating a solid base. Once it’s dry, you can add another layer if necessary. Think of it as filling in the trough created by the surface scratch. Let each layer dry in the trough before adding another layer to bring up the level of the surface of the car.
4. Blending the New Paint into the Original Paint Job
Creating a seamless blend between new and old paint is the vital part of the exercise and this is what really makes the best result, so take your time with this next step. It's all about harmonizing the new touch-up paint with your car's existing color and finish. Follow these steps for the perfect match.

Let the New Paint Dry
Once applied, give the newly applied touch-up paint ample time to dry. This is vitally important to achieve the best result. The paint needs to settle, allowing its true color to emerge.
We all know how wall paint looks different when its first applied to when it dries and this is the same thing, each layer must dry before the next is applied. Although this process amy not take long.
Sand the Painted Area
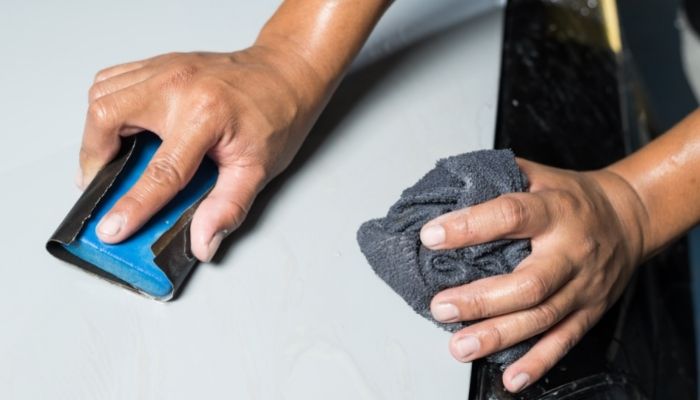
Once the paint is completely dry, it's time to begin the blending process. Take some fine grade 2000-grit sandpaper, carefully wet sandpaper and start to sand the area where the new paint meets the old paint.
This gentle abrasion will help to level out the difference between the old and new paint layers, creating a smooth transition.
Buff the Area

After sanding, buff the area with a rubbing compound. Use a good quality rotary buffer. This removes the scratches from the sanding and further smoothes out the transition between old and new paint. you may need to repeat this step a few times, wiping the area to remove left over paint residue each time.
Polish to Shine
Now repeat the above process with a polishing compound to enhance the blend by removing the small scratches left by the rubbing compound. This step is where you really get the finished look and you should therefore take your time and again repeat the step until the desires perfect blend is achieved.
Meguiars Polish

Apply Clear Coat
Now you should protect this perfect finish with a good quality clear coat. This will not only protect your hard work in the previous stages but it will give the repair area that glossy showroom look.
Wet Sand Again
After the clear coat dries, wet sand it lightly with the 2000-grit sandpaper. This will help to blend the clear coat with the rest of your vehicle's finish

Buff and Polish Again
Lastly, buff the area again with the rubbing compound followed by the polishing compound. This final step in the blending process will bring out the shine in the clear coat and make your paint job look professionally done.

Conclusion
Applying touch-up paint on your car might feel like a challenge at first, but with the right tools and a bit of patience, even car owners with minimal experience can successfully restore their vehicle's aesthetic appeal.
Whether you're dealing with minor scratches or deep scratches, the process begins with finding the right paint — the proper color that matches the rest of your car.
The good news is, paint manufacturers offer a wide range of colors, often under different names. So finding the proper touch-up color, even for metallic paints, is easier than ever. However, always remember to test your paint color first.

Just like a new car, every paint project starts with a first step — in this case, ensuring you've got the right color.
Prepare your work area. Ensure it's free from direct sunlight and dust. The size of the area you're working on will determine the type of applicator you'll use.
Aerosol paint might be suitable for larger areas, while a brush could be perfect for small paint chips.
The general rule is less paint is more. It's always a good time to remember that you can add more coats later if needed, but removing leftover paint can be challenging. And while we're on the subject of layers, remember to clean the entire surface area, especially the area you plan to paint.

Use a clay bar for best results. Follow this by a wipe down with a tack cloth to ensure a clean surface.
If you're dealing with plastic parts, an adhesion promoter can be your best friend. It helps the new automotive paint adhere better, eliminating the chances of a rough surface.
The kits below are really worth a look as you can specify the exact color match for your car and they supply a tube of that and a tubes of clear coat, which we think is a superb idea.
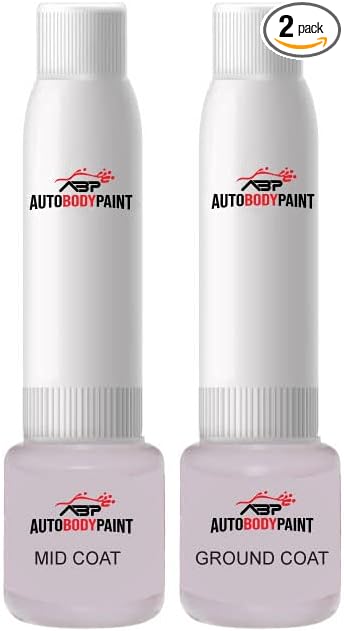
Apply the color coat with care, ensuring the touched-up spot blends seamlessly with the rest of the panel.
Once you're done, you might find yourself admiring your work. The blending technique has worked its magic, and the high-traffic areas look as good as new.

However, the journey doesn't end here. Protect your hard work by applying a layer of car wax over the entire car. It helps to seal the paint, and brings out the new shine.
For tape lines and large areas, it's usually a good idea to get professional help from an auto body shop.
While it might cost a bit more, it can save you a lot of money in the long run if the scratch repair is done correctly the first time.
In the end, remember that the entire process requires a circular motion - not just when applying paint, but also when sanding and buffing. It's this consistent movement that helps create a seamless blend between the old and new paint, making your car look as good as new.


